
Bag Prototype Cost: Sampling Fees, Mold Charges & Buyer Expectations
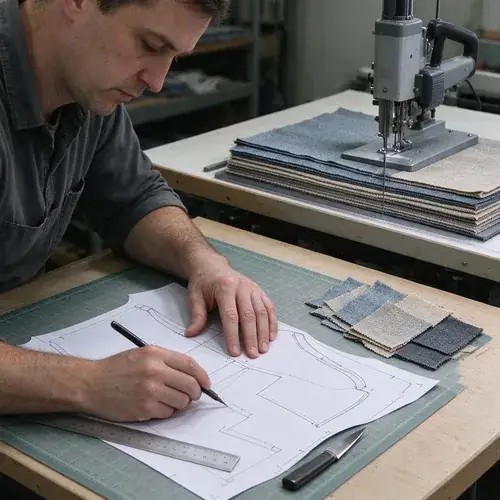
A custom bag prototype cost often lands several times higher than the final bulk unit price, depending on material complexity, structure, hardware, and supplier terms. That’s not markup theater. A one-off sample carries dedicated pattern making, manual assembly, and material sourcing at the supplier’s minimums. For a simple stock-material backpack, the fee may sit at the lower end of the project-specific range; for a structured bag with custom hardware and tooling, it moves toward the higher end. The real skill isn’t finding the cheapest sample. It’s knowing which line items are fixed, which are refundable, and which you should defer until the design itself is proven.
The commercial risk runs in both directions. Buyers who treat a prototype quote as a product price either reject a capable supplier or approve a cheap sample that hides bulk production problems. Buyers who underpay for a prototype usually pay later in revision loops, rejected gold samples, or a first production run that doesn’t look like the approved photo.
This guide breaks down what actually drives bag sample cost, the difference between a proto sample and a pre-production sample, when mold fees are justified, how refundability usually works, and a supplier-verification checklist you can use before paying a sample invoice. You’ll leave with a decision framework, not a fake price list. This page assumes basic familiarity with where sampling sits inside the broader bag OEM manufacturing process.
Quick Answer / 30-Second Buyer Decision
Before you request quotes, hold these five judgments firmly:
- A prototype is R&D output, not a finished product. You’re buying pattern work, material sourcing, sample-maker time, and technical judgment.
- Validate structure before paying for final materials. A first proto can often use substitute stock fabric and standard hardware. That route may avoid custom material minimums only if the supplier has sufficient in-stock material and no special color or lot requirement.
- Custom hardware and custom-dyed fabric should wait until the structure works. Paying for a mold before you’ve held the bag is the fastest way to waste development budget.
- Refundability is a contract term, not an industry promise. Sample fees may be credited against bulk, but only on supplier-confirmed conditions. Mold fees are often separate and stricter.
- Don’t skip the pre-production or gold sample. A proto sample approves the idea; a gold sample approves repeatable production.
If you remember only one thing: do not negotiate the line-item sample price without also negotiating the revision policy, material substitution rules, and refund trigger. The cheapest prototype often becomes the most expensive development program.
Scope of This Guide
This page covers custom bag prototype pricing, sample fee structure, mold and setup charges, prototype MOQ logic, and pre-production sample decisions. It’s written for brand buyers, Amazon sellers, distributors, and product teams preparing an OEM or ODM bag development budget.
It doesn’t drift into bulk manufacturing unit costs, regional cost breakdowns, or full product design strategy. For bulk price mechanics after sample approval, use the separate backpack cost breakdown guide. The focus here stays on the money you spend before a production order exists.
Every figure in this article is a buyer-verifiable range or a supplier-confirmed condition. There is no universal sample fee, mold fee, or refund threshold. If a supplier gives you a number without seeing a tech pack, treat that number as a placeholder, not a quote.
Why Is Bag Prototype Cost Usually Several Times Higher Than Bulk Unit Price?
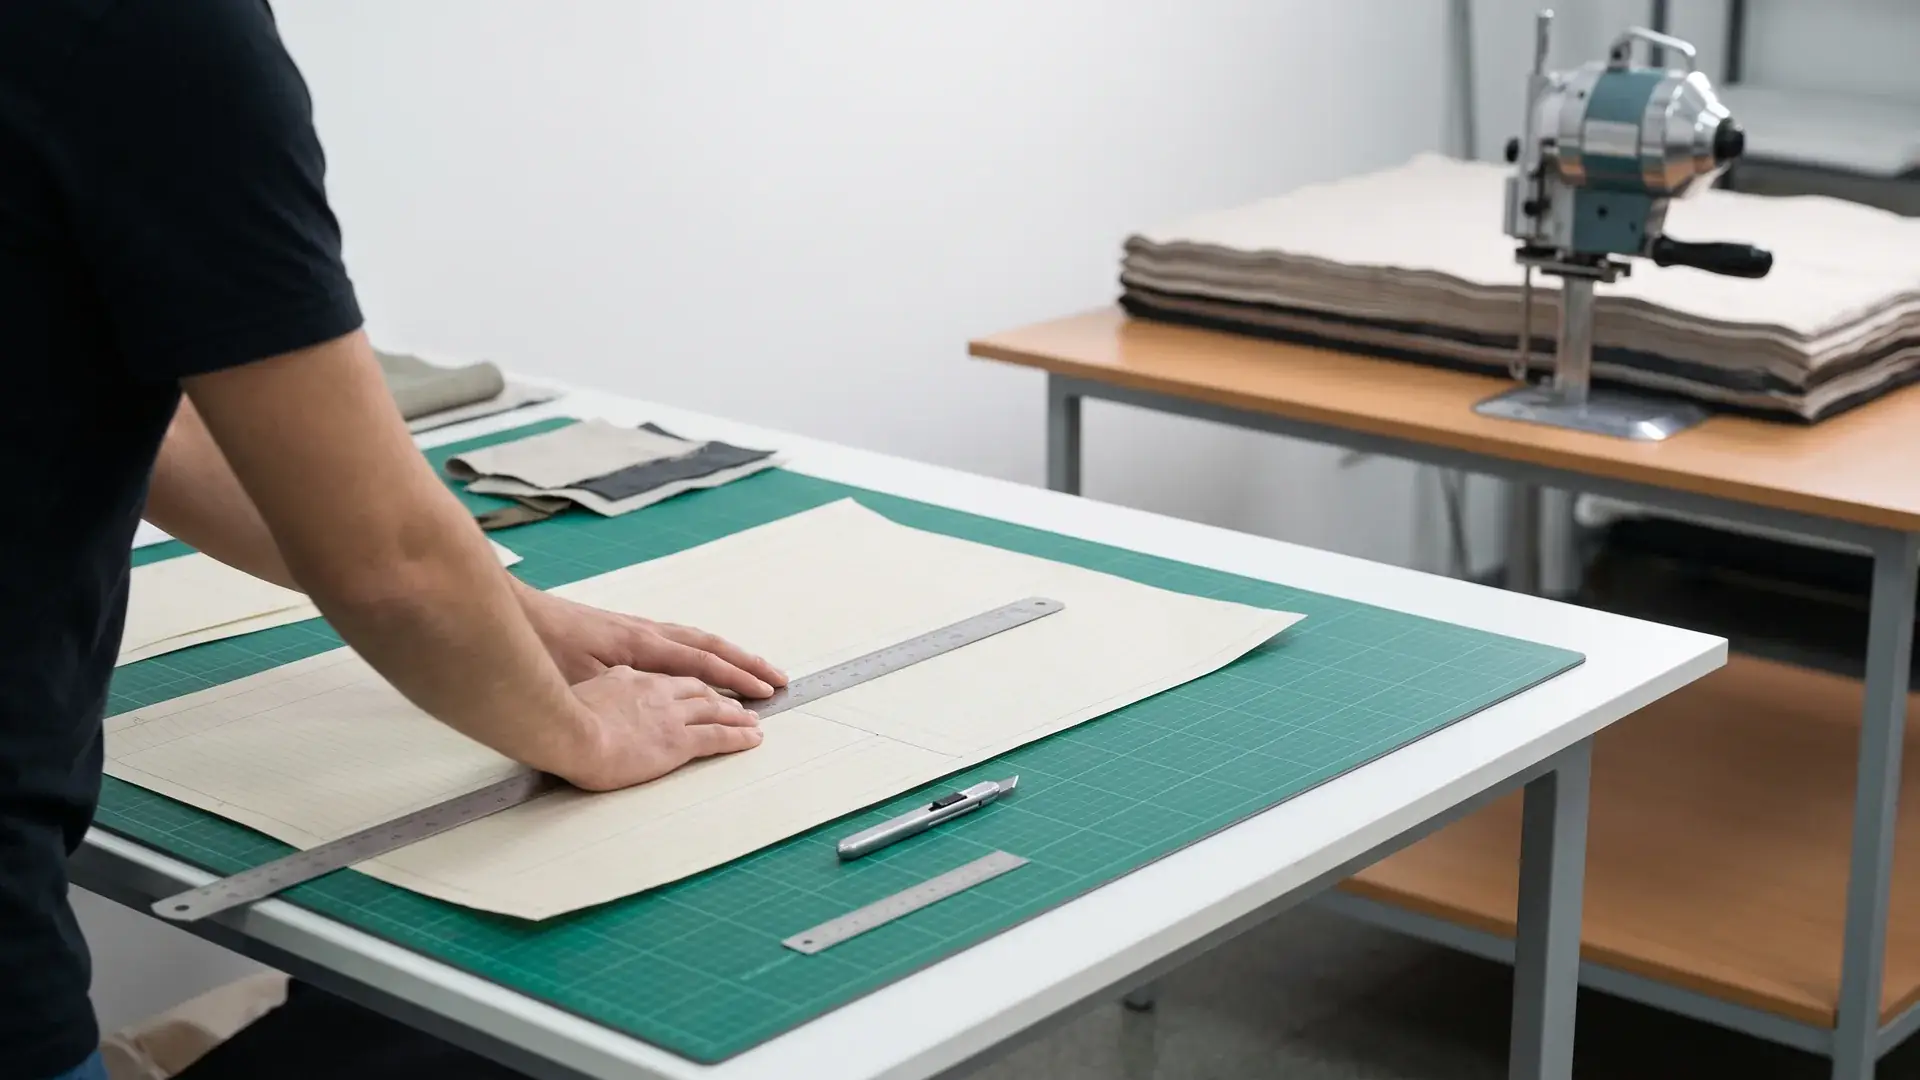
A single prototype costs several times the bulk unit price because bulk production spreads fixed development work across large production volumes, while a sample absorbs all of it at once. That arithmetic drives nearly every line item on a sample invoice.
The first cost driver is pattern making. A pattern is not a sketching service. The pattern maker converts a 2D reference image into cutting templates that account for seam allowances, material stretch behavior, and assembly sequence. The time required is project-specific. As an illustrative example, a basic tote with simple panels may consume only a short block of specialist labor, while a structured handbag with multiple compartments, curved panels, and a reinforced base often consumes far more time and may span multiple revision rounds. These examples are not industry benchmarks; actual effort varies with style complexity, tech-pack clarity, tolerance requirements, and sample-room workload. That time isn’t line sewing; it’s the technical work that determines whether the finished bag holds its shape and assembles cleanly in bulk.
The second driver is manual assembly. A prototype is usually made by a senior sample maker working one unit at a time, not by a trained production line running dozens of stations. The sample maker may stop to test how a panel curves, re-cut a seam allowance, or send a question back to the client. That stop-start labor is inherently more expensive per unit than continuous production.
The third driver is material sourcing inefficiency. Supplier minimum order quantities can force prototype purchasing far beyond what one sample needs. Some tanneries won’t sell below a supplier-confirmed minimum area, so the factory might buy enough leather for several bags when the proto only needs one. Custom woven lining mills often refuse tiny sample runs; they may require a minimum roll length that far exceeds the few meters a single bag consumes. Custom hardware is worse: the order minimum can dwarf the two pieces a prototype actually uses.
That excess material doesn’t disappear. If it can’t be repurposed for another order, it becomes dead inventory. Some suppliers absorb that cost and build it into the sample fee; others pass it through as a separate charge. The buyer should know which one is happening.
The final reason prototype cost feels shocking is commercial, not technical. A bulk order amortizes the same pattern work, quality setup, and packaging decisions across the full quantity. A sample order has no amortization base. So the multiple is not inflation; it’s the missing denominator.
Prototype vs. Pre-Production Sample: What Are You Actually Paying For?
A proto sample validates the design and structure. A pre-production sample, often called a gold sample, uses final production materials and is meant to prove the factory can repeat the bag in bulk. Confusing these two stages is the most common way buyers overpay or under-specify their development project.
When a bag has a new silhouette, new pocket geometry, or an unfamiliar load-bearing structure, start with a proto sample using stock substitute materials. That lets you test dimensions, carry comfort, compartment access, and stitching logic before spending on custom-dyed fabric or custom hardware. When the project is only a color, logo, or material change on an existing ODM structure, you can often move directly to a pre-production sample because the shape is already proven.
The table below maps the practical differences.
| Stage | Main Purpose | Material Used | Typical Cost Level | Revisions Expected |
|---|---|---|---|---|
| Proto Sample / Structural Sample | Validate shape, dimensions, compartment logic, carry feel | Stock substitute outer fabric, lining, and hardware where possible | Lower than gold sample, dominated by pattern and sample-maker time | May require multiple revision rounds if the sketch or tech pack is incomplete |
| Pre-Production Sample / Gold Sample | Demonstrate bulk repeatability with final materials and components | Final production fabric, lining, zipper, webbing, hardware, logo, padding | Higher than proto; includes final materials and any tooled components | Should be minimized, but final color, hardware, or logo approval may still require additional pre-production samples. The approved sample becomes the bulk reference standard |
The proto sample doesn’t give you license to approve bulk production. A bag made with a softer substitute fabric may look fine on a table but fail after real use in the final material. The gold sample is the document of record. When you receive it, run a bag sample approval checklist against dimensions, stitching, logo execution, zipper function, and hardware presence before you sign off.
The failure mode to avoid is paying for custom materials on a shape that hasn’t yet been handled. If the shoulder straps dig in or the laptop sleeve is too tight, those are structure problems. They should be fixed before you burn a custom fabric minimum or a mold fee.
Breakdown of Bag Sample Costs: Where Does the Budget Go?
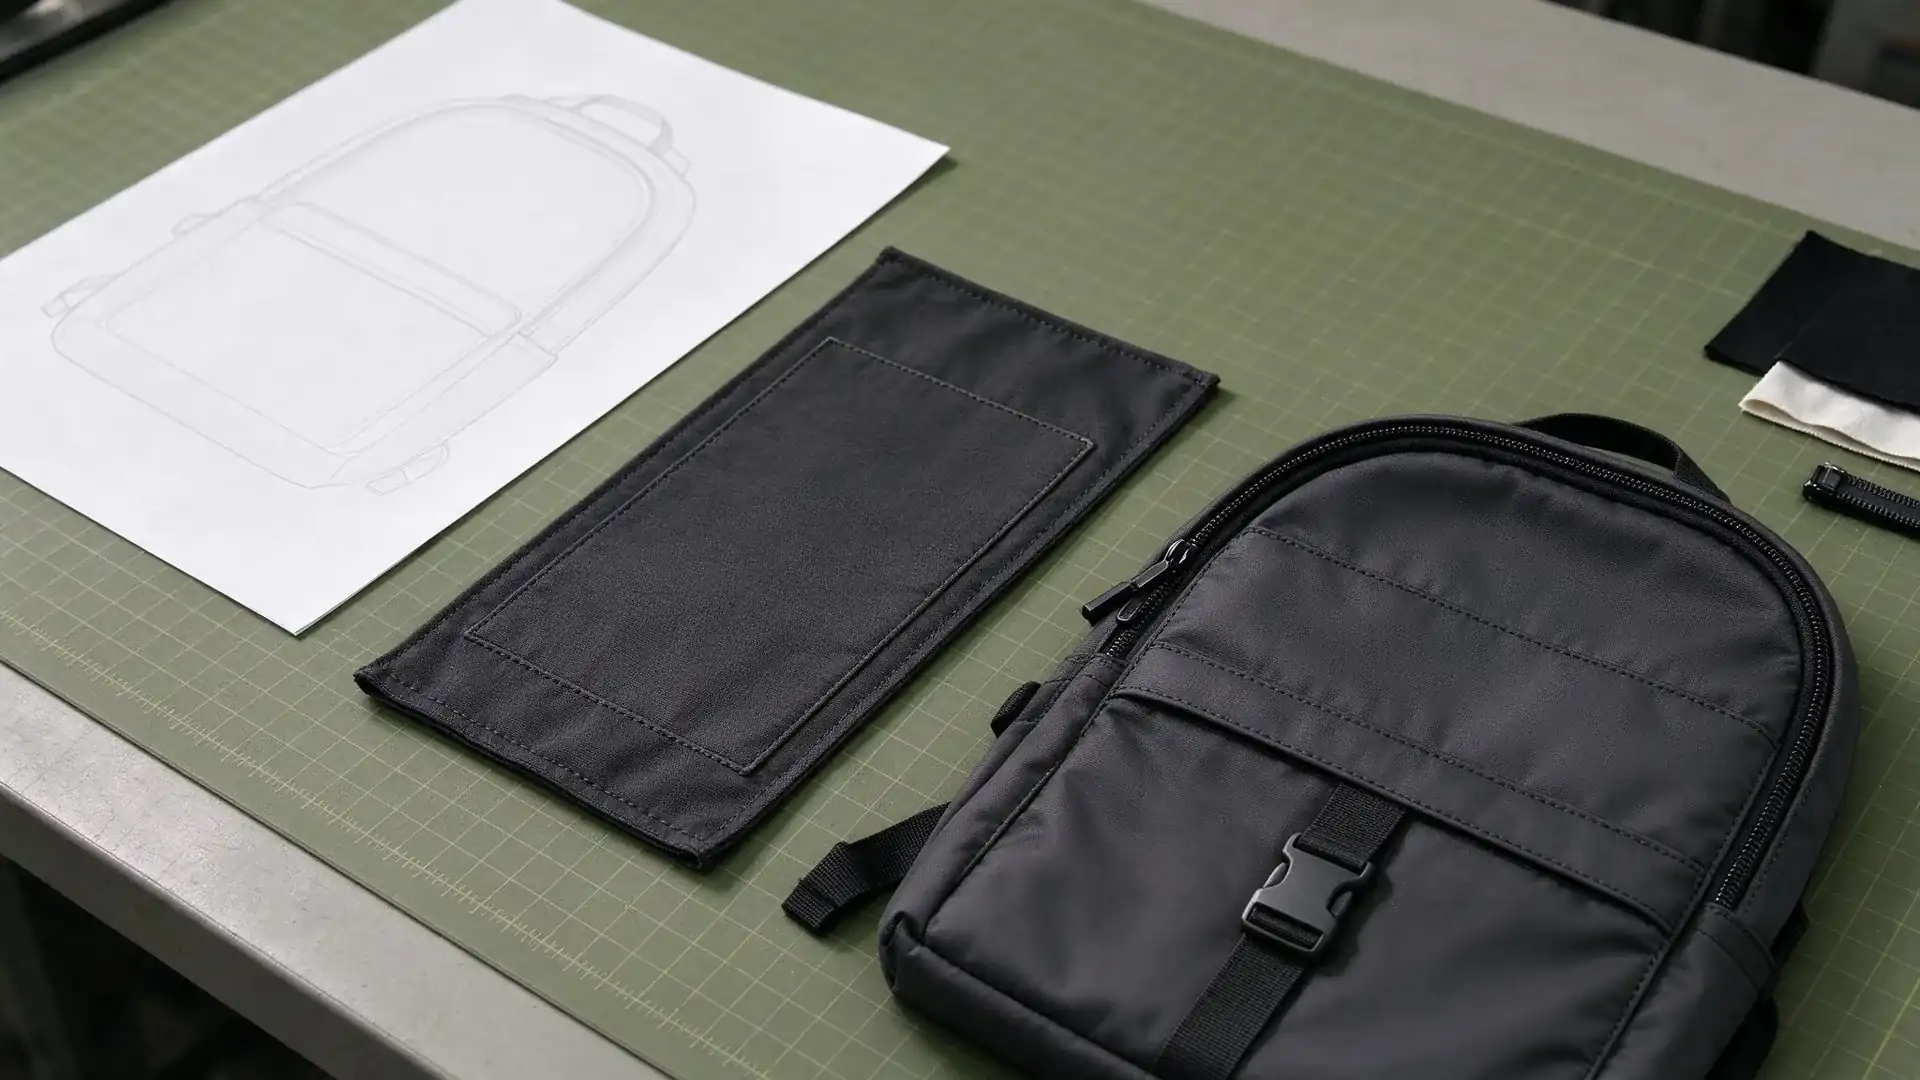
Read the sample invoice as five line items: pattern development, material sourcing, manual assembly, hardware and components, and courier plus documentation. If a supplier only sends one blended number, ask them to separate these. The separation tells you what can be reused after a revision and what must be re-purchased.
Pattern development is the engineering line. It covers converting your design into cutting templates, correcting seam allowances, and sometimes a trial assembly before the first finished sample. This line is usually non-refundable because the work is consumed whether or not you approve the sample.
Material sourcing includes more than the fabric in the bag. It often includes the supplier’s over-purchase to meet a mill or tannery minimum. Ask whether leftover material stays with the supplier for future orders, gets shipped to you, or is written off. The wrong answer can quietly add cost to a revised sample.
Manual assembly covers the sample maker’s time and the cost of stopping production line work to make one unit. This line is why a sample fee is not a simple material-plus-sewing calculation.
Hardware and components include zipper pulls, buckles, D-rings, webbing, foam, and any custom pieces. Stock components are lower-cost and reusable. Custom tooled components are not; they belong to the next section on mold fees.
Courier and documentation cover international sample shipping, export forms, and sometimes photo or inspection reports. These are often underestimated by buyers comparing sample fees across suppliers in different regions.
One habit I push in sample invoice reviews is to write the supplier and ask, “Which line items are consumed if I reject this sample, and which can be carried into the next revision?” The answer tells you the real cost of getting it wrong.
Mold Charges and Setup Fees: When Are They Necessary?
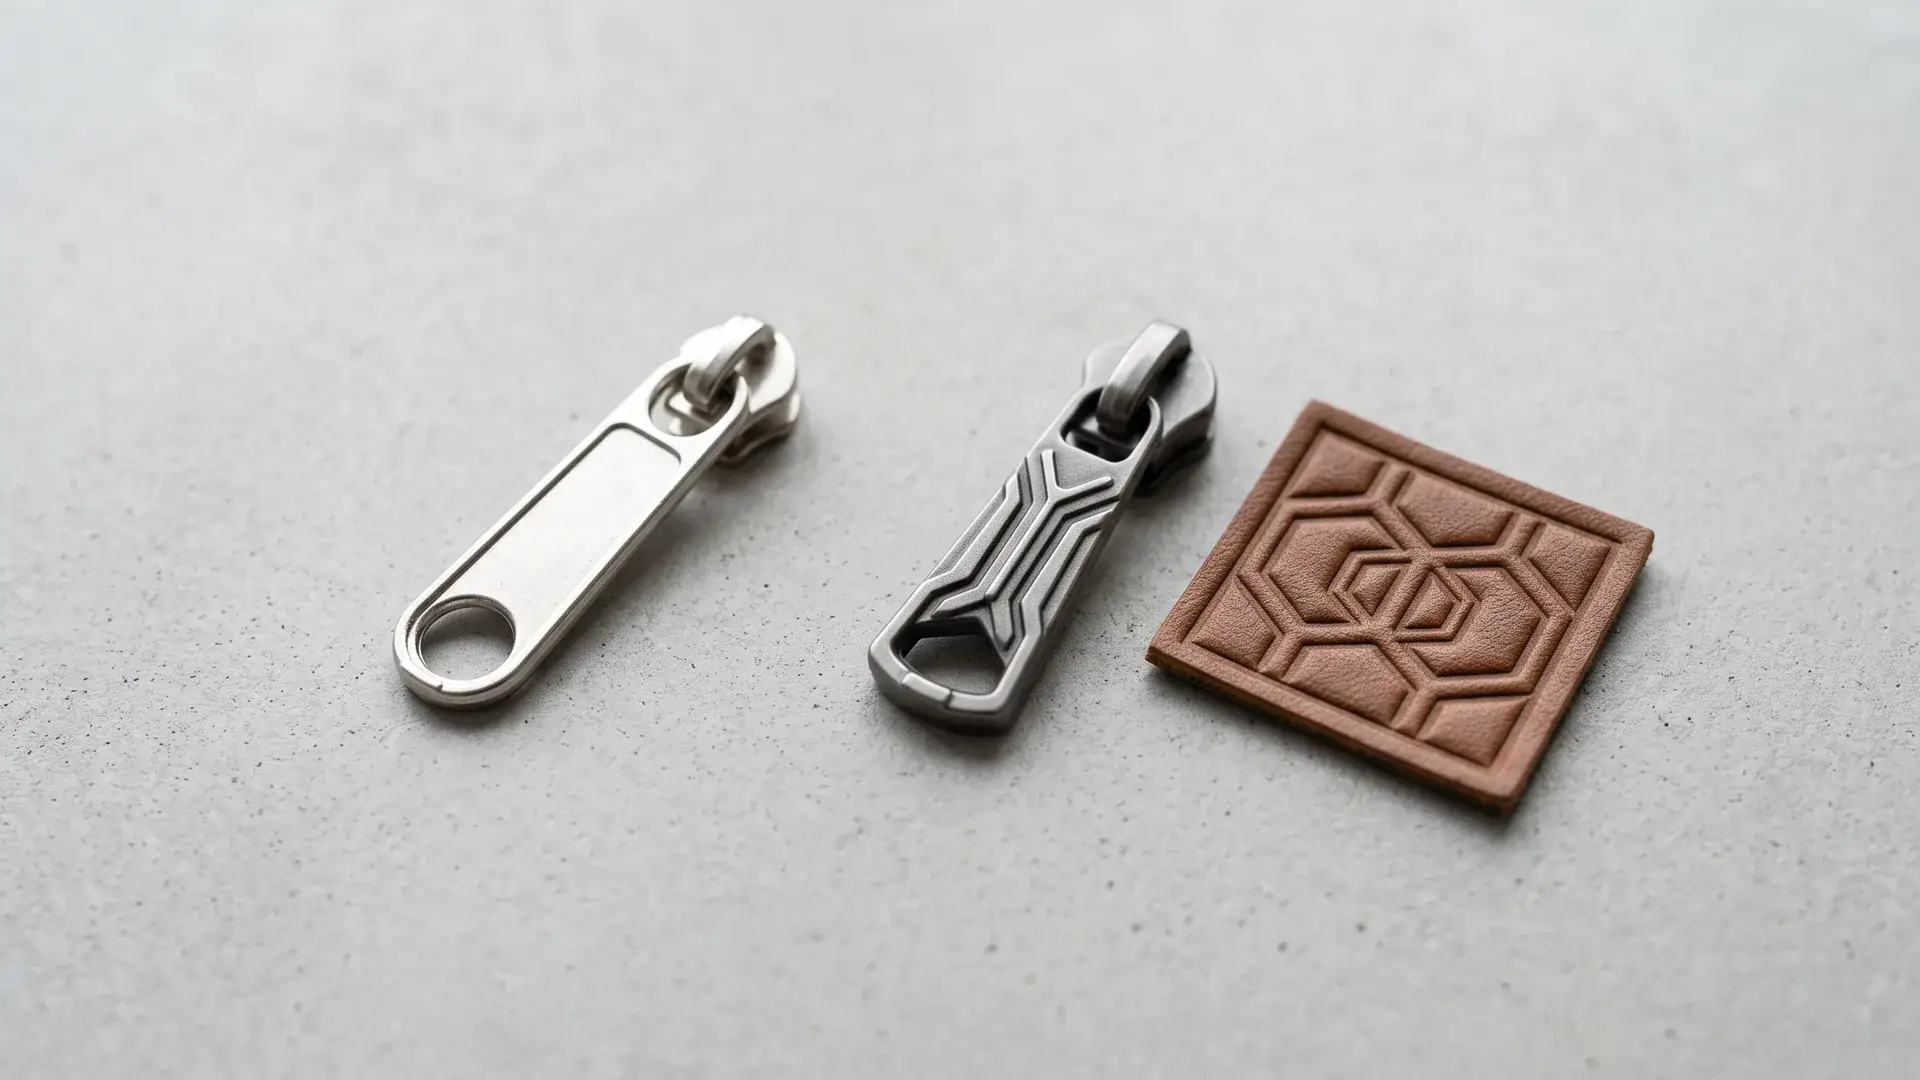
Mold fees apply when you need a component that can’t be bought as an off-the-shelf item. Customizing a logo on a stock bag doesn’t automatically trigger a mold. Creating a custom zipper puller, a debossed PU panel, or a die-cast metal badge does.
The smartest sequence is to keep custom-tooled components out of the first prototype. Use stock hardware and a supplier’s existing fabric. Once the structure, dimensions, and carry feel are approved, then pay for the mold and order the tooled component for the pre-production sample. This prevents the classic waste: paying for a custom zipper puller mold, then changing the bag’s hardware position or overall design and making the mold useless.
The table below shows the common setup or mold triggers in bag development and how to minimize early expense.
| Component Type | Typical Setup Requirement | Main Cost Driver | How to Avoid or Minimize |
|---|---|---|---|
| Custom metal zipper puller | Die-cast or injection mold plus minimum production quantity | Mold cavity count, metal finish, small part tolerance | Use a supplier’s stock puller for the proto; tool only after shape approval |
| Debossed or embossed PU/EVA logo panel | Embossing mold or heated die | Logo detail depth, panel size, material hardness | Scale down logo area, use stock panel aesthetic first, confirm mold after gold sample |
| Custom rubber or silicone patch | Mold plate with logo recess | Patch size, thickness, edge definition | Choose standard patch shape or defer until structure is proven |
| Custom woven or printed lining | Mill sample, screen or weaving setup | Repeat length, color matching, minimum run | Use standard nylon or polyester lining for early proto |
| Custom-dyed outer fabric | Dye lot minimum and lab dip approval | Mill minimum quantity, color fastness testing | Use stock color for structural proto; dye only for pre-production |
Not every custom element needs a full mold. A small woven label may only carry a setup charge with a modest minimum. A printed logo on a stock fabric panel may not need tooling at all. Before accepting any “mold fee for bags” line item, ask the supplier whether the component can be made with a lower-cost alternative method, whether the mold belongs to you after payment, and what minimum quantity triggers production.
Mold fees are one of the easiest places to overspend because they feel like brand investment. The correct decision rule is: don’t tool what you haven’t touched. Hold the physical proto, confirm comfort and structure, then commit to the mold.
Are Bag Prototype Costs Refundable?
Sample fees are often credited against a later bulk order, but only on supplier-confirmed terms. Mold fees are less reliably refundable and often carry higher order volume thresholds or are non-refundable outright. There is no universal industry rule.
One common refund structure—though not universal and subject to written confirmation—works like this: the buyer pays a prototype development fee, then when the bulk order reaches a supplier-confirmed MOQ, all or part of that fee is deducted from the bulk invoice. The order quantity that triggers the credit, the portion credited, and whether the credit applies to the first order only or across multiple orders all vary by supplier and project.
Mold fees work differently. A mold is a physical tool or die made for your logo or component. The supplier may credit the mold fee against bulk only when the order reaches a much larger quantity than the regular MOQ, or may not credit it at all. Some suppliers will store and maintain the mold for you; others will charge a storage fee later or require you to take possession. Before paying any tooling invoice, confirm in writing:
- What the mold or setup fee covers.
- Whether the mold fee is refundable or creditable, and against what order quantity.
- Whether the mold is owned by you after full payment.
- Whether the supplier will store the mold, and under what conditions.
- What happens if the mold is damaged or becomes obsolete.
This is where small-order buyers face extra pressure. A low-volume brand can’t spread a large mold or setup fee across enough units, so refundability and tool ownership matter much more. If you’re working with a short initial run, read the implications of custom backpacks no minimum before you approve tooling.
One common way buyers lose development money is not overpaying for the proto. It’s paying a sample fee and a mold fee, then switching to a slightly cheaper bulk supplier and losing the credit and the tool entirely. If you plan to switch suppliers, make that decision before you pay for non-transferable development work.
4 Ways to Optimize Your Custom Bag Development Budget
You reduce development cost more by shrinking revision rounds than by negotiating a lower sample fee. A slightly cheaper first sample that requires several revisions is more expensive than a correctly specified first sample with one clean revision.
The four strategies below work in most OEM or ODM bag projects. They don’t replace a pre-production sample; they reduce wasted spend before that sample exists.
1. Send a complete tech pack before asking for a quote
An incomplete design produces an ambiguous prototype and a quote loaded with assumptions. Include outer material preference, dimensions, pocket layout, hardware type, zipper direction, logo method and position, target market, color references, and any testing requirements. When the supplier can read the design once, they spend less time asking questions and less time reworking.
If you don’t have a formal tech pack, make one page of annotated photos and one page of written specifications. That’s usually enough to start. Without it, the supplier has to guess, and every guess becomes a revision.
2. Accept stock substitute materials for the first prototype
The first sample only needs to prove shape, proportions, load distribution, and assembly logic. Use the supplier’s existing nylon or polyester, stock lining, and standard webbing. Delay custom-dyed outer fabric and custom woven lining until the structure is confirmed.
This single decision may avoid custom material minimums, dye-lot setup charges, and dead inventory—provided the supplier has sufficient in-stock material and no special color or lot requirement. It also lets you compare the physical bag against the design before committing to expensive materials.
3. Use standard hardware until the gold sample
Custom zipper pullers, embossed patches, and die-cast logos are a common early overspend. Stock hardware usually performs the same functional job on a structural sample. You can always swap to custom hardware on the pre-production sample after the bag feels right.
The exception is when a custom part is structural, not decorative, such as a load-bearing buckle with unique geometry. In that case, you may need the tooled part earlier so the sample accurately reflects the strength and fit of the final component. Ask the supplier whether the part is structural or aesthetic before deciding.
4. Consolidate sample shipments and sample revisions
International courier costs add up quickly when buyers send one small change at a time. Collect all feedback on a single sample, mark changes on photos or directly on the sample, and send one consolidated revision request. If you need multiple prototypes, ask the supplier to ship them together on one airbill number.
Don’t over-optimize this step. Combining too many changes into one revision can cause the factory to miss something because it’s buried in a long list. The goal is one clear revision round, not one rushed mega-list. For a fuller list of what typically goes wrong during this phase, see this guide to sample order mistakes.
A better development budget is not about cutting the first sample fee to the lowest possible number. It’s about paying for one well-executed structural sample, then one well-executed gold sample, with the least possible tooling and material waste in between.
Supplier Verification: How to Avoid Paying for the Wrong Prototype
Before paying a prototype invoice, verify that the supplier can actually move from sample to bulk production with the same materials, hardware, and quality standards. A beautiful first sample made by a specialist won’t help you if the bulk line can’t repeat it.
Here’s the shortlist I’d run before paying a prototype invoice:
- Line-item quote. Ask for a sample quotation separated into pattern, material, assembly, hardware, and shipping. A supplier who only gives one blended number is not yet giving you enough control.
- Material source. Confirm whether the proto uses mill-produced final material, stock substitute material, or hand-cut approximations. Ask for swatches and material spec sheets before the sample is cut.
- Hardware source. Ask whether custom hardware is made in-house or subcontracted. If subcontracted, ask who owns quality control and who is responsible for mold defects.
- Sample-to-bulk team. Ask whether the sample maker and bulk production use the same pattern file, the same sewing sequence, and the same hardware. A sample produced by a different team than bulk creates the classic “sample looked better” risk.
- Refund and revision terms. Confirm in writing the sample fee refund trigger, revision fee policy, mold ownership, and any material over-purchase handling before you transfer payment.
- Reference samples. Request a physical stock sample or a previous similar production sample where possible. Even a similar bag gives you a baseline for stitch spacing, zipper behavior, and lining tension.
A good supplier will answer these without friction. A weak supplier will blur the line items or promise that everything will be fine in bulk. The second answer is the one that costs you money later.
RFQ Checklist for Custom Bag Prototype and Development
Use this table as the starting point for your next RFQ. Filling in as much as possible reduces the number of clarifying questions and gives the supplier enough information to separate fixed development cost from optional tooling.
| Field | Your input / options |
|---|---|
| Bag type and end use | Backpack, duffel, laptop bag, travel bag, cooler bag, school bag |
| Target market and sales channel | Country, retail, e-commerce, Amazon, promotional |
| Reference image or sketch | Provide annotated photos, a hand sketch, or a tech pack link |
| Finished dimensions | Height, width, depth in cm or inches; capacity in liters |
| Outer material | 600D polyester, 1680D ballistic nylon, canvas, RPET, PU, other |
| Lining material | Polyester, nylon, PU coating, custom woven or printed |
| Hardware and zipper type | Zipper gauge, metal or resin teeth, buckle type, D-rings |
| Logo method and position | Embroidery, screen print, woven label, rubber patch, embossed panel |
| Custom components | Custom zipper puller, mold, embossed patch, custom-dyed fabric |
| Color references | Pantone codes, material swatch, digital sample |
| Structure points | Padding, laptop sleeve, reinforcement, trolley sleeve, base |
| Packaging requirement | Polybag, barcode, hangtag, carton strength, Amazon packaging |
| Initial sample quantity | One proto, one pre-production, or stock reference sample |
| Planned bulk quantity | To assess MOQ and refund trigger |
| Sample deadline | Supplier-confirmed after material availability |
| Bulk delivery target | For capacity and scheduling check |
| Test or QC requirements | Load test, zipper test, colorfastness, AQL level, inspection |
| Budget range | Optional, but helps the supplier propose realistic materials |
| Refundability expectation | Credit against bulk, mold ownership, revision policy |
Every field in the right column should be confirmed by the supplier against the specific project. A blank field today often becomes a future charge or a missed expectation tomorrow.
Common Mistakes That Inflate Bag Prototype Cost
Most unnecessary development spend comes from the same buyer-side errors: unclear specifications, paying for final materials too early, tooling custom parts before touching the sample, ignoring refund clauses, skipping the pre-production sample, and failing to keep approval references.
The first mistake is asking for a price before providing a specification. Quotes made without a material list or dimension sheet are padded with uncertainty. The supplier must protect against the possibility that the final design is far more complex than the first conversation suggested.
The second mistake is demanding final materials on the first sample. Custom-dyed fabric and custom-tooled components make the first proto more expensive and less useful, because the structure has not yet been validated. Use stock substitutes first.
The third mistake is paying for a custom zipper puller, embossed patch, or die-cast badge before holding the physical bag. If the strap angle changes or the logo position moves, the mold may need to be redone. Hold the bag first.
The fourth mistake is treating refundability as an afterthought. Buyers who don’t confirm the refund trigger in writing often assume it is automatic. Then a change in order quantity or a switch to a different supplier voids the credit. Confirm the terms before paying.
The fifth mistake is accepting a structural proto as final approval. A sample made from substitute material is not a gold sample. Skipping the pre-production sample to save one fee often creates a bulk order that doesn’t match the photo, triggering returns, bad reviews, and platform listing problems.
The sixth mistake is not keeping a physical record of approved swatches, hardware, and the gold sample. When bulk arrives, you need a reference standard to compare against. Without it, a dull zipper or a slightly softer lining becomes a subjective argument instead of a documented nonconformance.
FAQ About Bag Prototype Costs
These are the questions buyers most often ask before they approve a sample invoice.
How much does a bag prototype cost?
A custom bag prototype commonly costs several times the eventual bulk unit price. The exact bag sample cost is quote-dependent and only becomes meaningful after a supplier reviews your tech pack, material list, and hardware specifications. Ask for a line-item breakdown rather than a blended number so you can see where the budget is concentrated. Don’t treat any number you see online as a fixed quote for your project.
Is bag prototype cost refundable?
Not automatically. Many suppliers credit the prototype fee against a later bulk order when the order meets a supplier-confirmed MOQ, but the credit portion, trigger quantity, and deduction timing vary. Mold fees often have separate, higher refund thresholds or are non-refundable. Always get refundability terms in writing before paying the sample invoice.
Why is custom hardware so expensive for samples?
Custom zipper pullers, embossed patches, and die-cast metal badges require a mold or setup charge and a minimum production quantity, even if only a few pieces are needed for the prototype. The fee includes the tool plus the time to set up and test the process. Using stock hardware for the first proto keeps early development cost lower, because no mold is involved.
How long does a custom bag prototype take?
Prototype lead time depends on material availability, pattern complexity, and the supplier’s sample room schedule. A simple proto using in-stock fabric often moves quickly when all components are on hand, but custom-dyed fabric, custom hardware, or mold work can add weeks or more. Confirm the sample schedule in writing after materials and components are locked.
Can I get a free sample?
Free samples are usually only possible for existing stock models the supplier already has on the shelf, not for custom OEM development. A brand-new prototype requires pattern work, material sourcing, and sample-maker time, so suppliers normally charge a development fee. If a supplier offers a free custom sample, ask exactly what it includes and whether it uses final materials or is only a stock reference.
What is prototype MOQ?
Prototype MOQ is the minimum quantity of a custom component or material a supplier must purchase to make even one sample. For example, a custom woven lining mill may require a minimum run far beyond what one prototype needs. The MOQ applies to the material or component, not necessarily to the number of finished sample bags. Confirm which items carry minimums and whether leftover quantities can be credited or reused for later production.
Conclusion
Custom bag prototype cost becomes rational once you stop reading it as a product price. You’re buying development confidence: a validated pattern, a tactile reference, and a documented baseline for bulk quality control. The expensive mistakes are rarely the fees themselves. They’re tooling custom parts before the structure works, skipping the gold sample, and failing to lock refund terms in writing.
When you request a prototype from OMASKA, send the RFQ fields above and ask for a line-item breakdown. The earlier the tech pack is complete, the fewer sample revisions you’ll fund. Start with stock materials, hold the physical bag, then spend on the custom elements that actually create brand differentiation. That sequence lowers risk, controls landed cost, and protects your first production run.
Get A Quote

Get A Quote
0 Comments