
Bag Sample Approval Checklist for B2B Buyers: Verify Before Mass Production
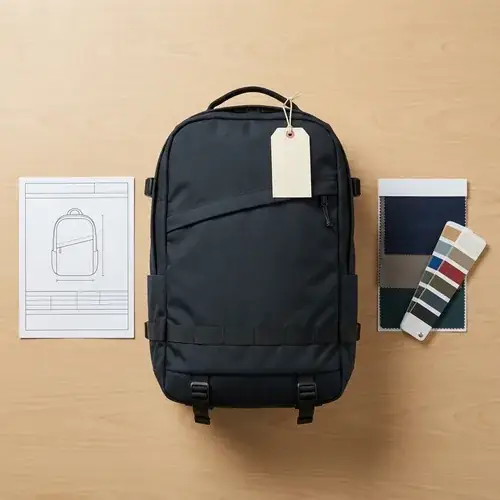
A bag sample approval checklist turns sample sign-off into a controlled business decision. Before you release a purchase order, verify four things: the sample matches the approved tech pack, the materials are bulk materials and not sample-room substitutes, the stitching and hardware survive buyer-defined load tests, and every revision is documented and sealed as the golden sample.
If you skip that sequence, a visually acceptable sample can quietly turn into bulk defects, returns, oversized shipping charges, or marketplace review risk because the production run drifts from the approved reference. That drift is often the costliest problem in custom bag sourcing because the factory often follows the approved physical sample more than the written email trail.
This guide walks through the approval sequence from the pre-production bag sample to PO release. You'll get a working structure for checking dimensions, materials, logo execution, hardware, stitching, packaging, revision tracking, and supplier confirmation before mass production begins.
Quick Answer: The Pre-Production Sample (PPS) Approval Workflow
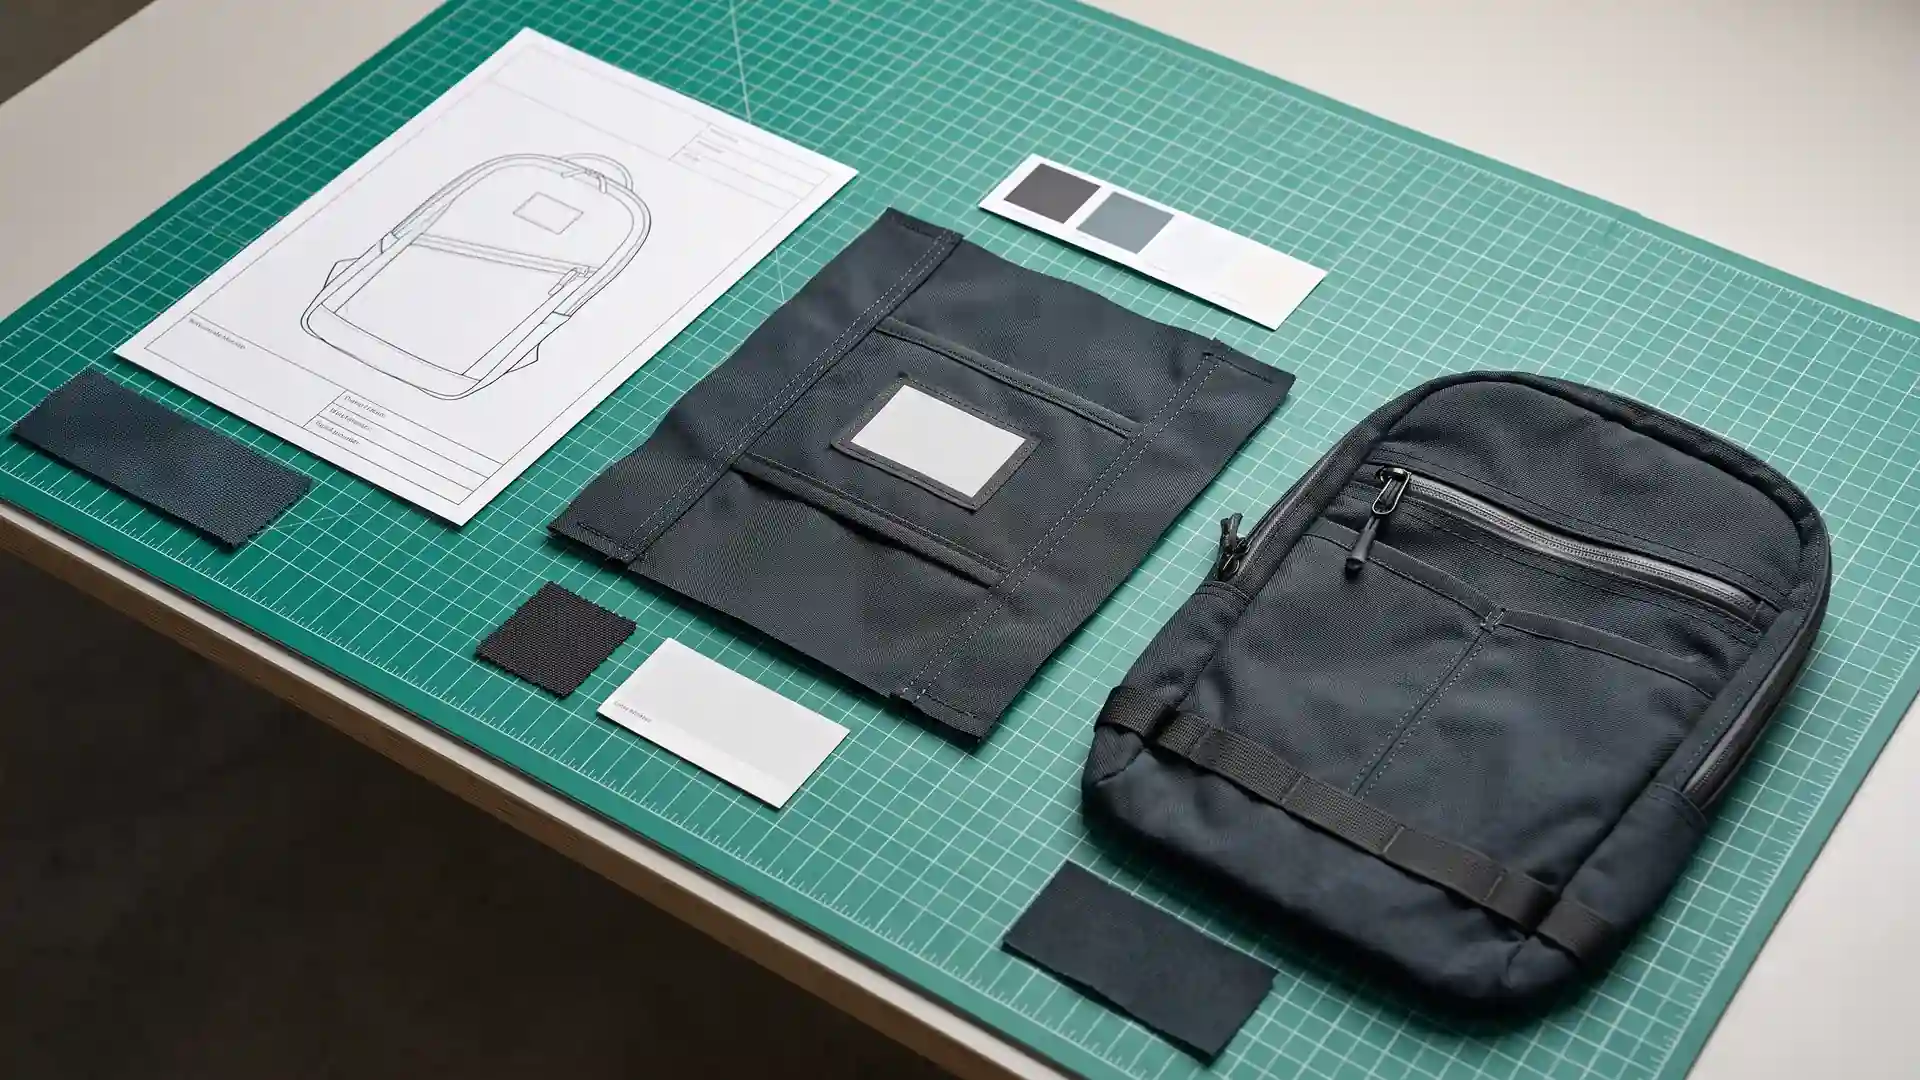
The sample approval workflow is not one glance and a "yes" email. It's a controlled comparison between three documents: the tech pack, the bill of materials, and the physical sample. Get that comparison right, and the bulk order has a measurable standard.
A prototype usually proves shape, fit, and design concept. A pre-production sample should be made with the same materials, hardware, cutting methods, stitching methods, and production line processes that bulk production will use. Approving a sample-room prototype as a bulk standard is one of the most common bag sourcing failures because the production line may not be able to reproduce what a sample maker hand-built.
A golden sample is the final buyer-approved physical bag. It's signed, dated, tagged, and kept by both the buyer and the supplier as the ultimate QC reference. Any future dispute about material, color, construction, logo position, or packaging should be judged against that sealed sample.
The practical workflow is:
- Receive and inspect the pre-production sample.
- Measure and test it against the tech pack and approved color/lab dip references.
- Load it with real contents and stress the handles, straps, and zippers.
- Record every issue in a revision tracking log.
- Resolve the issues and request a revised sample or written supplier confirmation.
- Sign, seal, and photograph the golden sample.
- Release the PO with an explicit clause referencing the sealed golden sample.
Step 1: Physical Dimensions, Capacity, and Fit Verification
Start with dimensions because dimensional errors can break the end user's experience even when every other detail looks good. A backpack can look correct in photos and still be a few millimeters too short in the laptop compartment, which may mean the customer's 16-inch device does not close cleanly.
Measure the bag empty on a flat surface. Use a hard ruler or metal tape measure for straight dimensions, and a flexible tape only for curved panels or depth checks. Compare the physical measurements directly to the tech pack, not to the first prototype or a competitor's product. If the supplier has not stated a tolerance, ask for one before approving. Tolerance wording should be supplier-confirmed, for example "width tolerance ±X mm" based on the actual cutting and sewing process.
For backpacks, check width, height, depth, laptop sleeve opening, padded panel length, and main compartment opening. For luggage, measure the full external dimensions including wheels, side feet, top handle, and any protruding zipper pulls because those often change the usable carry-on or carton size.
Capacity must be tested with real contents, not just visually. Insert the intended load: target laptop, charger, notebook, water bottle, lunch container, documents, and small accessories. Close all zippers without forcing. Check whether the laptop sleeve ends too high, the bottle pocket collapses when the main compartment is full, or the front organizer pocket becomes unusable. If the zipper route strains when the bag is loaded to its stated capacity, that's a structural failure at sample stage, not a minor fit issue.
For travel or carry-on bags, some major airlines use 22 × 14 × 9 inches (56 × 36 × 23 cm) as a carry-on planning reference. That's a useful starting point, but it is not universal. Confirm the exact airline and service-class limits before locking dimensions because a bag that passes one carrier's sizer may fail another.
Also confirm the packaged dimensions. Online marketplace and parcel carriers usually bill on dimensional weight, not just product weight. A soft backpack may compress into a smaller carton, but a structured bag with a rigid back panel or wheel system may require a larger carton. If the sample is correct but the packing method makes the carton exceed a marketplace shipping tier, you've still created a landed-cost problem.
Step 2: Material, Hardware, and Color Accuracy
After dimensions, compare every raw material and component on the sample against the BOM and material swatches. The core question is not "does this fabric look acceptable?" but "is this the exact fabric that bulk production will use?"
Fabric checks should cover denier, weave, handfeel, coating, lining, padding, and reinforcement material. A sample sewn from available stock fabric may feel different from bulk fabric that has been custom-dyed or re-ordered. Ask the supplier to confirm in writing whether the sample fabric came from the bulk fabric lot or from sample-room stock. If it came from stock, you have not yet approved the bulk material.
Color accuracy is a separate failure point. Never approve a color from a phone photo or a supplier's catalog image. Use physical lab dips, approved swatches, and a color standard reference code under a light box or consistent daylight. Check the color on the main fabric, lining, webbing, zipper tape, and thread because dye lots can differ across materials even when the visual Pantone target is the same. If the lining or webbing color is off, it can look like a different product on a marketplace listing. See the detailed guide on color lab dips and production dyeing mistakes for how to avoid common lab dip failures.
Hardware is where buyers often approve too quickly. Run the zipper repeatedly and slowly, especially around corners. Check the slider movement, opening angle, puller clearance, and whether the zipper tape twists or puckers. Buckles should click securely, release smoothly, and hold webbing under tension. Metal hardware should not show uneven plating, pitting, sharp edges, or obvious surface scratches. A supplier-specified coated coil or molded zipper model should be confirmed against the BOM, not accepted as "same as last time."
The table below is a sample-checking matrix. Use it while the sample is physically in front of you.
| Component | What to Check Against Tech Pack | Performance/Standard Check | What to Confirm with Supplier |
|---|---|---|---|
| Main fabric | Denier, weave, handfeel, PU/PVC coating, RPET content if specified | Coating adhesion, water resistance only if claimed | Bulk fabric lot and source match |
| Lining | Color, thickness, seam binding, surface smoothness | No rough edges or visible delamination | Material code and lining source |
| Padding/foam | Thickness, density, compression rebound | Recovers after compression; no hard spots | Not substituted with lower-density foam |
| Zipper | Coil/molded type, tape color, slider finish, length | Smooth repeated open/close, no corner snag; ASTM D2061 reference if required | Zipper model and source match BOM |
| Webbing/tape | Width, color, weave, stiffness | No fraying at cut ends; load path correct | Same webbing used in bulk |
| Buckles/hardware | Size, finish, logo-free condition, mating parts | No sharp edges; ISO 9227 corrosion reference if metal hardware is used | Metal/alloy/plastic grade and coating |
| Thread | Color, thickness, contrast or tonal match | No unraveling at seam ends | Thread type used for bulk stitching |
The critical decision is not whether the material "looks fine." It's whether the sample material is traceable back to the BOM and whether any substitution would trigger a re-approval.
Step 3: Logo Execution and Branding Placement
Logo approval is where branding mistakes become irreversible at scale. Check the logo on the physical sample from both arm's length and macro distance, on both sides and inside if present.
First confirm the placement against the drawing: distance from the top seam, centering on the panel, orientation on curved or padded surfaces, and position relative to zippers or webbing. A logo that is visually centered on a flat photo may be off-center in real life because the bag panel curves or because the embroidery frame pulled the fabric.
Then check the method quality:
- Embroidery: thread density, stitch coverage, puckering around the logo, backing material, and whether the backing scratches the hand or inner lining.
- Screen printing: edge sharpness, smudging, cracking, adhesive residue, and print thickness over seams.
- Heat transfer: edge lifting, uneven gloss, bubbling, and adhesion after light flexing.
- Rubber or molded patches: edge finishing, stitching alignment, adhesive gaps, and surface deformation.
Durability matters more than appearance at this stage. A logo can look perfect and still crack during early use. If the supplier has testing capability, a rubbing colorfastness reference such as ISO 105-X12 can help judge whether print or dyed branding transfers to other surfaces under dry or damp rubbing. For transfers and patches, gently bend and flex the material to check for edge lifting. For embroidery, check that the design does not distort when the main compartment is loaded.
If your logo crosses a seam, a curved panel, a zipper opening, or a padded laptop sleeve, that's a higher-risk placement. Ask the supplier whether the logo method is compatible with that area before accepting it. A better approach is often to move the logo to a flat, stable panel unless the design intentionally spans the seam. For more on this, see common logo and branding customization risks.
Step 4: Stitching, Reinforcement, and Performance Testing
Visual approval only catches a fraction of bag failures. The approval decision should also include a simple loaded performance test that mimics real use.
Inspect high-stress points before testing:
- Shoulder strap attachment points
- Top handle anchors and haul loops
- Webbing junctions and adjustment points
- Laptop sleeve corners
- Zipper ends and corner stress areas
- Wheel housing and trolley base attachments on luggage
At these points, look for bar tack stitching or equivalent dense reinforcement. A bar tack is a tight zigzag stitch group that locks the end of a seam or anchors webbing to the panel. If a load-bearing strap is attached with only a single straight stitch, treat the sample as failed unless the supplier confirms the seam is engineered and tested for the intended load.
Check seam allowance by looking at the inside of unlined seams or asking the supplier to mark it during the sample review. Loose threads, skipped stitches, wavy topstitching, and uneven stitch density along edges are red flags because they indicate process control issues that will multiply in bulk.
Then run a loaded lift test. Load the bag to the intended maximum use weight, or a buyer-defined test load based on the product category. Lift it by the top handle, then by one shoulder strap, then by both straps if it's a backpack. Listen for popping threads, feel for seam separation, and watch whether the zipper opens under tension. If the bag changes shape too much or the strap anchor visibly deforms, that's a sample rejection issue, not a note for later.
Zipper performance should be tested with the bag partially loaded, not empty. Run each main zipper around the corners, check the opening angle, and confirm that the slider does not catch fabric or lining. A zipper that works in an empty sample can fail under load because the tension changes the corner geometry. See common zipper tests and structural checks for the broader QC logic.
If you need documented lab evidence, ASTM D2061 can be referenced for zipper strength, and ASTM D5034 can be referenced for fabric tensile testing. But these are only useful if the buyer and supplier agree on the test method, sample size, and pass/fail threshold. Do not accept a generic "we tested it" without the report showing what was tested.
Step 5: Packaging, Labels, and Compliance Proofing
Packaging is part of the product, not an afterthought. If the sample passes but the packaging has the wrong barcode, no suffocation warning, or a hangtag that presses into the fabric, the bulk order can still be rejected at the warehouse or create marketplace return risk.
Check hangtag placement and attachment. Hangtag strings should not cut into PU or vinyl panels, and the tag should not leave creases on soft nylon. Confirm the printed content on the hangtag or insert card matches the final product name, color, material composition, and any required regulatory information.
Check polybag quality. The polybag should be thick enough not to tear during warehouse handling, and it should include the required suffocation warning where applicable to the destination market. Verify barcode scannability. A barcode that prints too small, sits on a curved seam, or lacks contrast can fail at the marketplace fulfillment center.
Carton marks are often missed because buyers only inspect the bag. Verify the outer carton has the correct shipping mark, item number, quantity, color, destination code, and any country-of-origin or handling marks required by the importer. Carton strength should be part of the packaging proof because soft bags can be compressed in overpacked cartons, deforming the product before the customer opens it.
Compliance proofing should be conditional. REACH may apply to products sold in the EU depending on material composition and use. Children's product safety rules may apply if the bag is marketed to children. CPSIA and similar regimes do not automatically apply to every promotional bag. Ask the supplier to confirm which documents apply based on the target market, age group, and product use. Never approve a bag without knowing what labeling or test documentation the destination market requires.
How to Document Revisions and Seal the "Golden Sample"
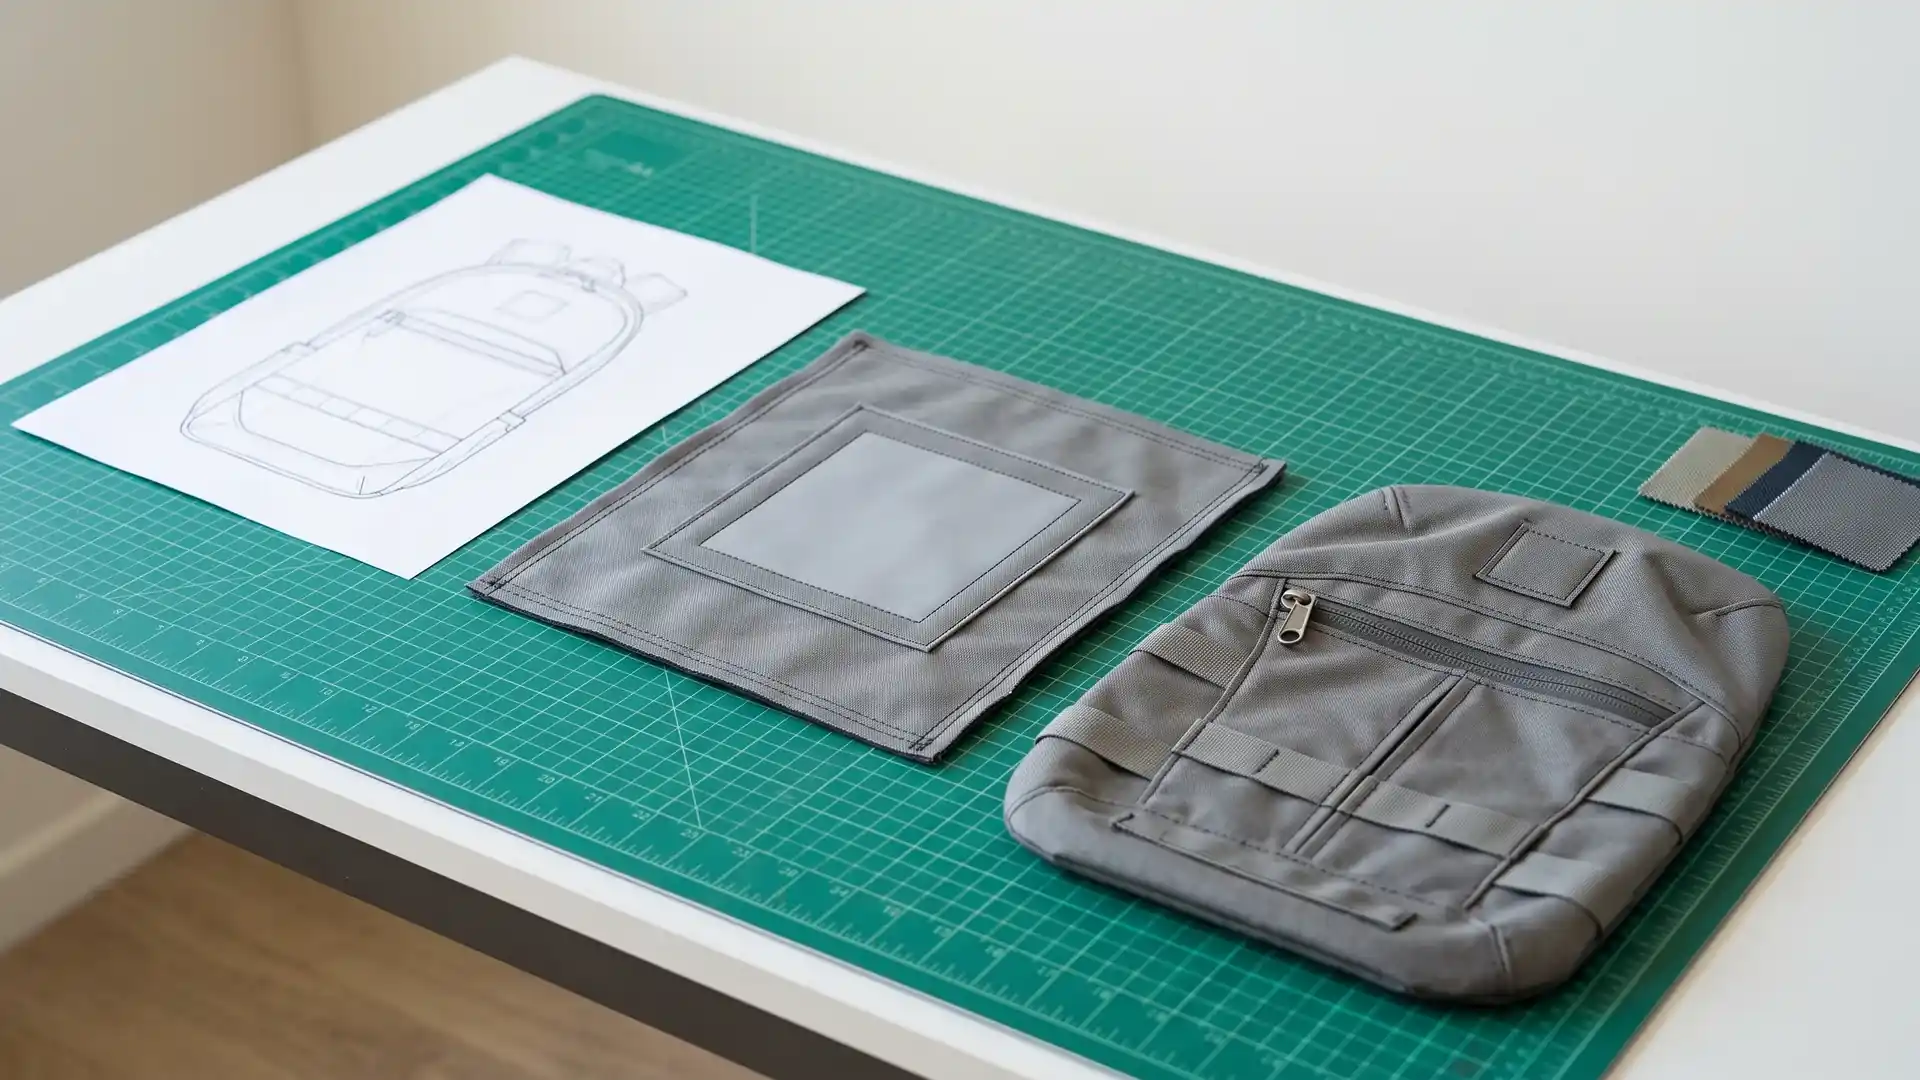
The administrative side of sample approval is what protects you when bulk production arrives. A verbal "approved" or a one-line email leaves too much room for interpretation.
Start with a revision tracking log. Each round of changes should record the issue, the buyer request, the supplier confirmation, and whether the issue is resolved. The simple table below keeps the history readable.
| Issue Found | Buyer Request (Actionable) | Supplier Confirmation (Yes/No/Alternative) | Status |
|---|---|---|---|
| Laptop sleeve too short for target 16-inch laptop with case | Extend sleeve pattern to fit target 16" laptop with case | Supplier confirmed and revised pattern | Resolved |
| Shoulder strap lacks bar tack reinforcement | Add bar tacks at both attachment points | Supplier confirmed; new PPS sent | Resolved |
| Side mesh pocket stitches uneven | Reinforce pocket opening and resew sample | Supplier will correct on final PPS | Pending |
| Hangtag string damages PU panel | Use wider ribbon tag loop | Supplier confirmed alternative attachment | Resolved |
When every issue is resolved, seal the golden sample. The physical sample should be signed and dated by both the buyer and the supplier. Use a tamper-evident tag or zip tie through the handle or product seam so it cannot be swapped without visible damage. Photograph the sample under consistent lighting from multiple angles, including close-ups of the logo, zipper, stitching, labels, and any revised areas. Keep one sealed sample and return one sealed sample to the supplier.
The golden sample is not a guarantee of zero defects, but it becomes the practical standard for final inspection. When the bulk order arrives, the QC team should compare the production units against that same sealed sample. See backpack pre-shipment QC inspection for what happens after bulk production begins.
Add a line in the purchase order such as: "Bulk production must match the signed Golden Sample dated [Date] in all materials, dimensions, colors, construction, logo placement, and packaging." This wording is not a legal recommendation, but it states the buyer's acceptance standard clearly enough for the supplier and inspection team.
Also confirm who made the sample. If the sample was produced in the sample room, you still need a pre-production sample produced on the main production line before bulk cutting. Some factories can produce a beautiful sample-room piece that cannot be reproduced at line speed. Ask the supplier: "Will the same operators and the same production line make the bulk order as made the PPS?"
Common Sample Approval Mistakes Buyers Make Before Bulk Orders
Many bulk bag failures trace back to a sample that was approved too loosely. These are the recurring mistakes I'd look for first.
- Approving from photos only. A supplier's photo can hide poor stitch tension, weak foam, zipper drag, and off-color webbing. You need the physical sample in your hands, ideally photographed by your own team.
- Treating a prototype as the production standard. A sample-room prototype may use different fabric, hardware, and hand-stitched construction. It proves the idea, not the process.
- Ignoring material substitution. Sample-room stock is often not the same as bulk fabric. Confirm the bulk material lot before signing off.
- Not loading the bag with real contents. Empty-sample zipper checks miss the stress that causes corner snags and strap anchor failure.
- Accepting a small logo shift as cosmetic. Once the logo is approved in the wrong position, the entire bulk order carries that branding error.
- Approving packaging that was never sampled. Hangtags, polybags, barcodes, and carton marks are equally part of the SKU.
- Finishing without a sealed golden sample. Without a signed, tagged reference, bulk approval becomes a debate instead of a comparison.
There's a wider set of pitfalls in common sample order mistakes in bags and luggage, especially around specification sheets, artwork versioning, and golden sample handling.
The Ultimate Bag Sample Approval Checklist
Use this as a final pass before you tell the supplier to start bulk production:
- Confirm the sample is a pre-production sample made with bulk materials, not a sample-room prototype.
- Measure all external dimensions and compare them to the tech pack.
- Test the bag with the intended laptop, bottle, documents, and accessories.
- Check carry-on or carton dimensions against the target airline, marketplace, or courier limits.
- Compare main fabric, lining, padding, webbing, thread, and hardware to the BOM.
- Verify color against physical lab dips or approved swatches, not phone photos.
- Confirm zipper model, slider movement, opening angle, and corner clearance.
- Check logo placement, size, color, distortion, and bending/flexing durability.
- Inspect bar tacks at shoulder straps, handles, haul loops, and webbing anchors.
- Run a loaded lift test with buyer-defined weight.
- Check packaging, hangtag, polybag warning, barcode, carton mark, and inner protection.
- Record every revision in a tracking log with supplier confirmation.
- Sign, date, tag, and photograph the final golden sample.
- Add a PO line referencing the sealed golden sample before releasing the order.
Supplier Verification Before You Release the PO
Supplier verification in sample approval is not a background check. It's a written confirmation of who controls what after approval.
Ask the supplier to confirm in writing:
- The pre-production sample was made on the production line using bulk materials and bulk processes.
- The fabric, lining, hardware, zipper, thread, and webbing match the BOM and the sealed golden sample.
- Any material or component substitution will trigger a new pre-production sample for buyer approval.
- The same QC team will use the golden sample as the reference for inline and final inspection.
- The supplier retains one sealed golden sample at the production site.
- Responsibility for stock model, logo decoration, QC, packaging, and repeat-order consistency is assigned to a named contact or team.
A good supplier will confirm what it can match and will flag what it cannot. If the supplier refuses to state that bulk production must match the golden sample, that's a procurement signal to slow down, not a reason to push forward.
RFQ Checklist
Use this RFQ checklist to make sure sample approval is part of the original sourcing request, not an afterthought.
| Field | Your Input / Options |
|---|---|
| Bag type | Backpack / laptop backpack / school bag / travel bag / luggage / cooler bag / duffel / other |
| Target market | Country, region, online/offline channel |
| Quantity | Buyer-defined total quantity and order split |
| Target price | Quote-dependent cost category, not a confirmed price |
| Main material | Polyester, nylon, RPET, canvas, PU/PVC, other |
| Lining and padding | Fabric code, foam density, compartment layout |
| Size and capacity | Length × width × depth, laptop size, target capacity |
| Color | Color standard reference, lab dip approval |
| Logo method | Embroidery, print, transfer, patch, laser, or other |
| Hardware and zipper | Zipper type, puller, buckles, hooks, trolley, wheels |
| Packaging | Polybag, hangtag, barcode, carton mark, pallet |
| Sample type required | Prototype, pre-production sample, golden sample |
| Sample deadline | Buyer-defined date |
| Bulk delivery deadline | Buyer-defined date |
| Inspection requirement | AQL level, inline inspection, final inspection |
| Compliance | REACH, children's product rules, labeling, test reports if applicable |
| Approval document | Tech pack, BOM, revision log, signed golden sample |
This RFQ format keeps the supplier's attention on the approval process, not just the product design.
FAQ on Bag Sample Approval Checklist
These are the questions B2B buyers ask before releasing a PO.
What is the difference between a prototype and a pre-production sample?
A prototype proves the design concept. A pre-production sample should prove that the factory can mass-produce the design with bulk materials, bulk hardware, and production-line methods. Never treat a hand-made prototype as the approval standard for bulk.
What is a golden sample in bag production?
A golden sample is the final buyer-approved physical bag. It is signed, dated, tagged, and kept by both the buyer and the supplier as the main reference for comparing bulk production units. Any bulk order dispute should return to the sealed golden sample.
How many sample revisions are normal for a custom bag?
There is no universal number. A simple stock model with logo decoration may need fewer rounds. A fully custom backpack with new materials, custom hardware, and a complex logo often needs more. The amount depends on how clearly the tech pack was prepared, how specific the color lab dips were, and whether the supplier used the same materials as planned for bulk.
Who pays for sample revisions?
This is quote-dependent and project-specific. In many cases, the buyer pays for design-driven changes, such as changing the pocket layout or choosing a different fabric after sampling. The supplier may absorb revision costs when it failed to follow the approved tech pack. Confirm this cost responsibility in writing before the first sample is made.
Can I use the approved sample for product photos or marketing?
Yes, but only if it is the exact final pre-production sample or golden sample. If the sample still contains unresolved changes, your listing photos will not match bulk production. Photograph the sealed golden sample from the same angles you plan to use for marketplace listings.
What should I do if the bulk order doesn't match the approved sample?
Do not authorize shipment until the mismatch is documented and compared against the signed golden sample. Photograph the bulk units and the golden sample side by side. Ask the supplier to confirm the material, dimension, logo, stitching, or packaging deviation in writing. Depending on the severity and your PO terms, you may require rework, replacement, or a formal corrective action plan before acceptance.
Is visual inspection enough to approve a bag sample?
No. Visual approval misses seam strength, zipper tension under load, foam density, hardware durability, and packaging failures. You need measurement, a loaded lift test, logo flexing or rubbing checks, and packaging proof before bulk production approval.
Official Sources and Compliance References
These standards are planning references, not automatic requirements. Use them when the buyer and supplier agree on a specific test method.
- ISO 2859-1 for sampling plans and AQL during final inspection.
- ASTM D2061 for zipper strength testing when zipper durability is a defined requirement.
- ASTM D5034 for fabric tensile testing when load-bearing fabric or seams need lab verification.
- ISO 105-X12 for rubbing colorfastness, useful for printed logos, dyed fabric, and color transfer concerns.
- ISO 9227 for salt spray corrosion testing when metal hardware is used and corrosion resistance is relevant.
- REACH and CPSIA are conditional compliance regimes. They may apply depending on target market, product use, age group, and material contact. Confirm the applicable scope with the supplier or a compliance consultant.
Conclusion
The sample is not a preview. It's the standard your bulk order will be judged against. Spend your approval effort on the right sequence: pre-production sample, not prototype; bulk material verification, not visual guesswork; loaded performance testing, not empty-bag checks; and a signed golden sample, not an email approval.
If you're preparing a new RFQ or need a supplier to review a pre-production sample before bulk cutting, OMASKA can work through the approval file line by line: dimensions, BOM, logo method, stitching, hardware, packaging, and final golden sample. The goal is to release the PO with fewer unknowns, not more promises.
Get A Quote

Get A Quote
0 Comments